Professional door installation results in smooth operation; the door should open and close without gaps or sticking. Skilled handymen follow a clear process to achieve proper installation that withstands regular use and local weather cycles. Installation often involves accurate measurements and bracket alignment, depending on the type of door. Here are four steps professional door installers follow:
1. Initial Assessment and Measurements
Installers often begin by inspecting your doorway and frame; they measure the rough opening at the top, middle, and bottom. Door installers also measure the height on both sides and determine the right allowance for shimming space. Initial measurements help installers confirm new door dimensions to achieve a correct fit. This step also identifies uneven walls, damaged framing, and moisture issues that require repair before Installation begins.
After repairs are complete, the opening is cleaned and prepared. The old door and trim are removed using a pry bar or a utility knife. Door installation teams clear old shims and sealants, nails, worn fasteners, and loose debris, so the bare studs are visible. Installers discuss the door’s appearance and swing path; they also confirm your preferences for insulation and weather resistance. An installation date is scheduled once every detail is finalized.
2. Frame Setting and Leveling
Installation usually begins with checking the floor and studs using a level. This verifies that surfaces are vertical, or plumb, and sides meet at a clean 90-degree right angle, which is called square. Installers position the new frame inside the opening, and they adjust it with shims until it sits level. If flooring or carpet will be added later, spacers may be placed at the bottom. This leaves an additional gap, so the door will swing smoothly over your flooring later.
3. Door Fastening and Securing
Once the pre-hung unit fits into the opening, installers secure the frame while checking alignment throughout the process. Precise positioning allows the door to operate smoothly after installation. Installers attach the door after securing the frame and test it several times to confirm swing direction, latch alignment, and clearance. The entire process involves:
- Driving screws partially through the hinge side while checking for plumb alignment
- Confirming an even gap around the entire frame when the door swings
- Securing the remaining fasteners tightly if the door opens and closes correctly
- Filling large gaps with low-expansion foam insulation without warping the jamb
4. Hardware Installation and Final Checks
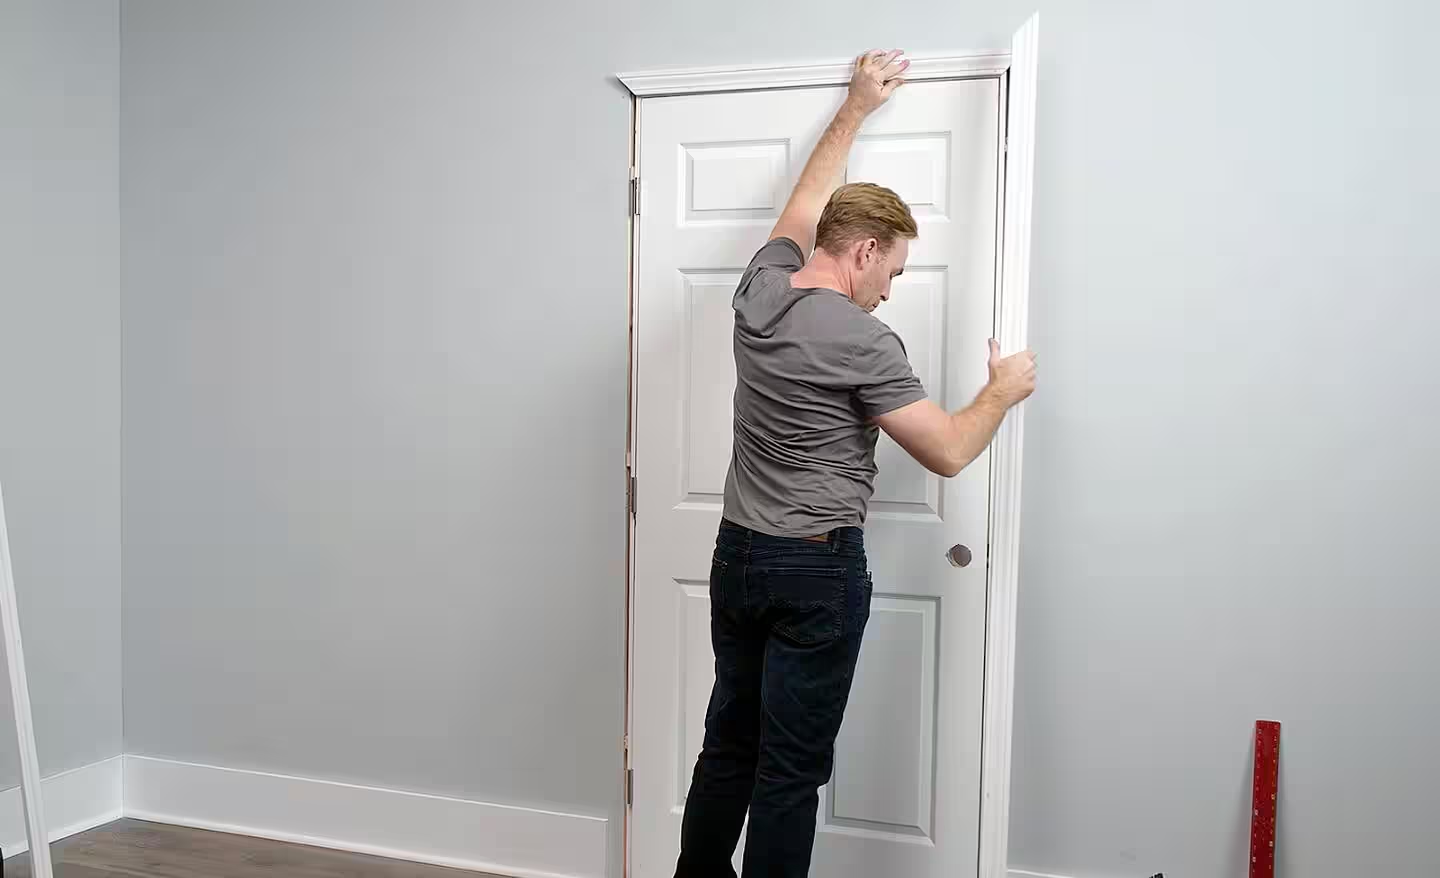
Interior casing and exterior trim pieces are installed over the door frame to cover gaps and brackets. Installers attach the door knobs, levers, and latch hardware. For outdoor doors, exterior-grade caulk or paint is applied to seal exposed wood and prevent air or moisture leaks. Before leaving the worksite, installers inspect every part of the completed installation; this verifies proper operation and confirms the door locks securely. The door may be varnished or painted to achieve the final aesthetic. Teams clean the work area and remove old materials when the project is complete.
Schedule Professional Door Installation Today
Professional installation results in reliable operation, and a properly installed door can last several years before requiring repairs. Experienced teams are able to install interior or exterior doors, including entry and patio units. Speak to a handyman today to schedule professional door installation.